Convert Windows 10 Administrator User to Standard User
By default, Windows will (usually) create your user account as an ‘administrator’. This isn’t in line with security best practices and guidance from the National Cyber Security Centre states that administrator level accounts should be used for administrative tasks only and that your regular use account is a ‘standard’ account.
In this guide, we’ll cover how to convert your account to a ‘Standard’ user account whilst setting up a backup ‘Administrator’ account so you can continue to use elevated permissions when needed.
Instructions
We’ll take the following steps to make the conversion.
Create a new user account. This’ll be the ‘administrator’ account and be accessed only for administrative tasks as needed going forward.
Elevate the new account to ‘administrator’. Windows will create it as a ‘standard’ account by default.
Sign into the new account. We need to be signed in as another administrator account to demote your regular use account.
Demote your normal account to a standard user. The final stage before signing back in as your normal account and continuing as normal.
Create a new admin account
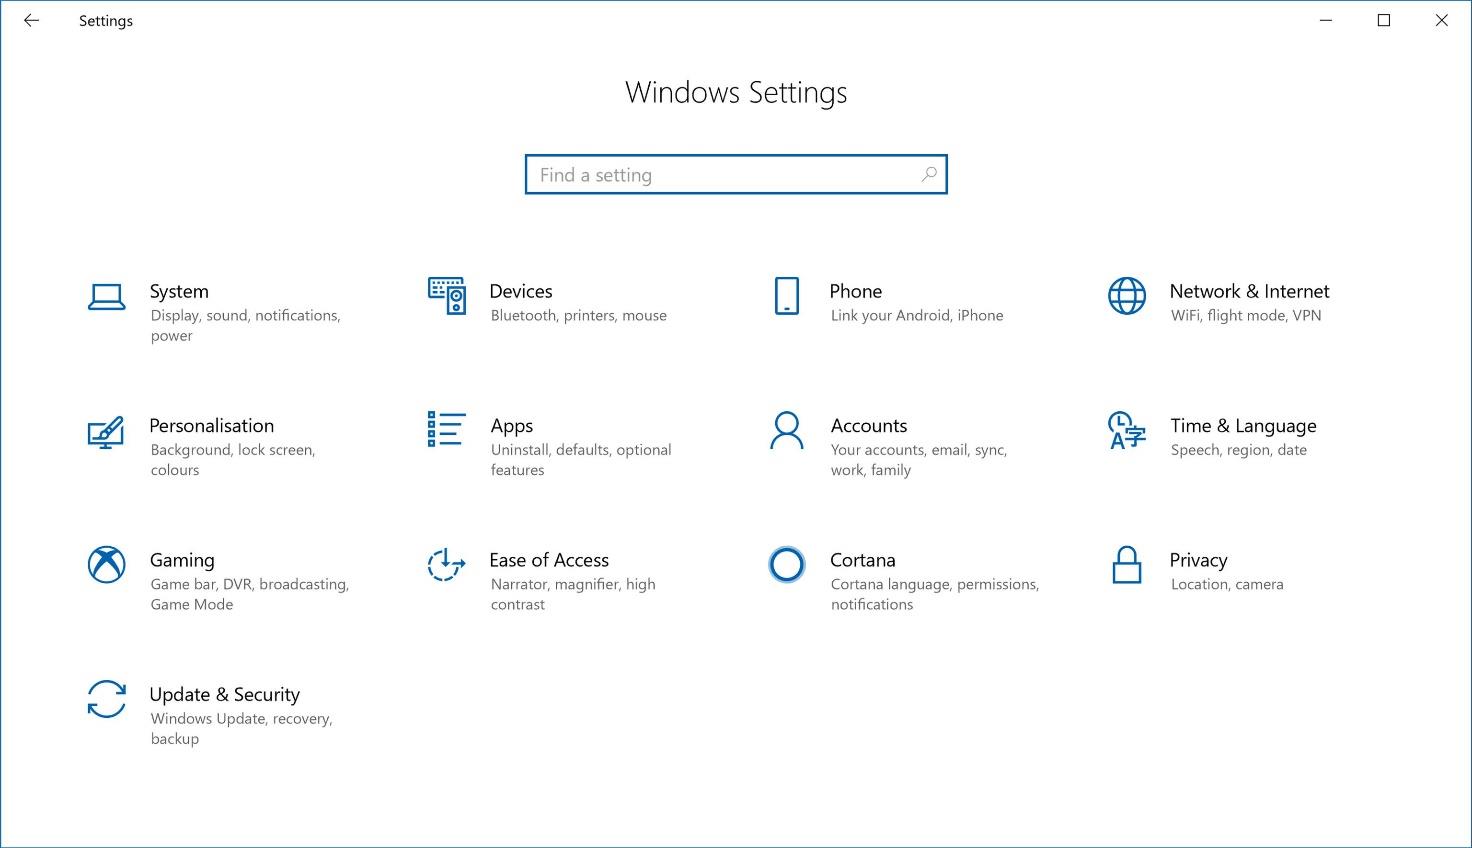
From the Start menu, select Settings → Accounts
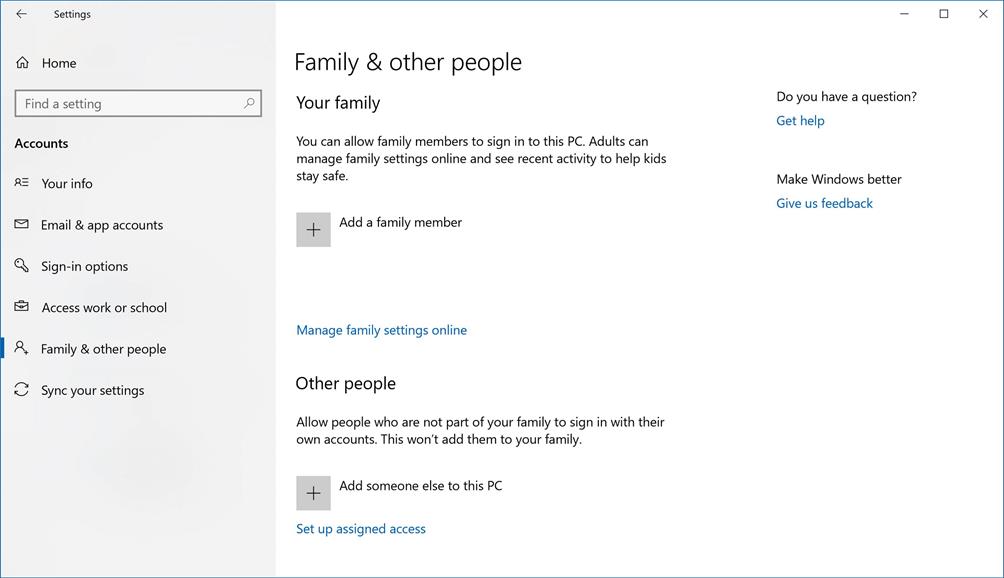
From the left hand menu, go to Family & other people
From the Other people section, select Add someone else to this PC
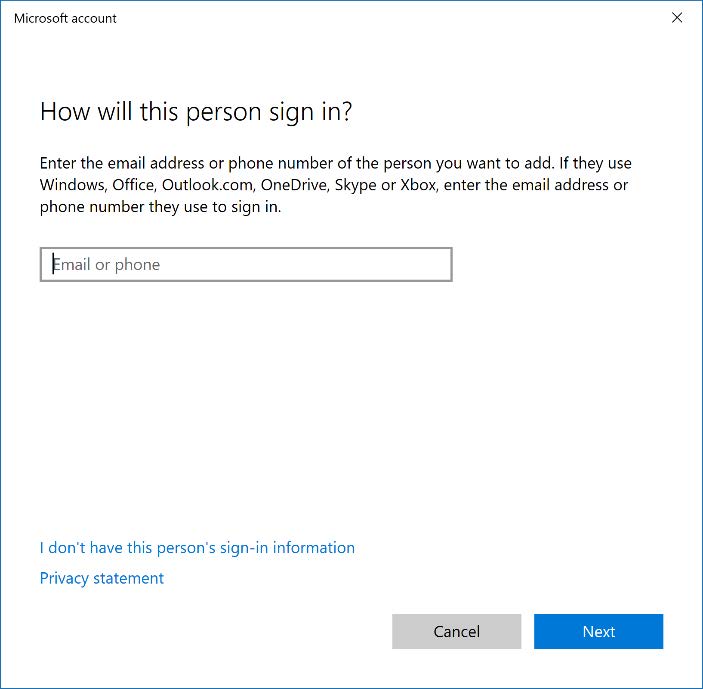
In the pop-up window, ignore the sign-in form and select I don’t have this person’s sign-in information.
From the next page, ignore the form again and select Add a user without a Microsoft account
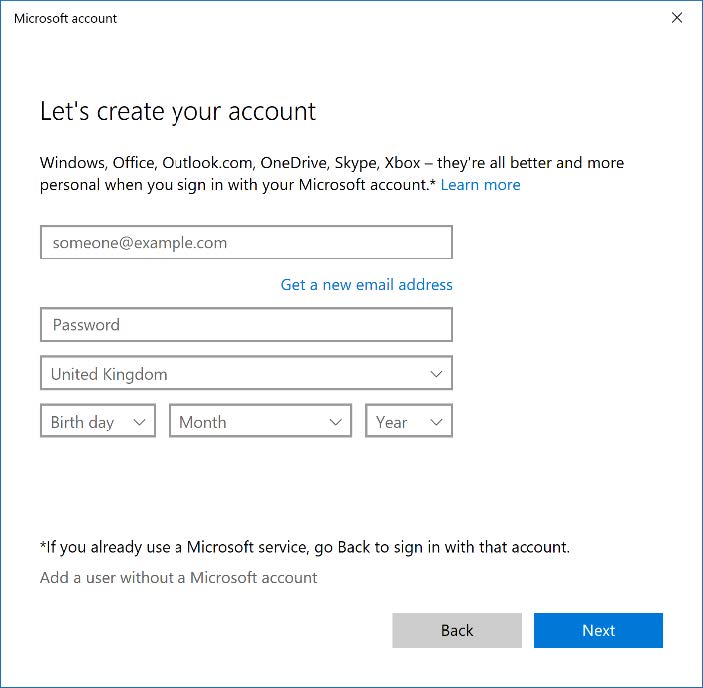
From the Create an account for this PC page, fill out the form - it is important that you remember the details input here to sign in to the new account, or recover it if the password is lost. It would be usual to call this account something like admin.

Elevate new account to 'admi
Related articles
-
Page: